Slice, visualize & export
Fourth step
3D printing parameters have been applied to the 3D model and it is now print-ready.
The slicing procedure consists in interpreting the 3D file in a series of 2D plans according to the selected 3D printing parameters. This step will result in a digital interpretation that can be viewed in the slicing software. Once validated, it can also be assessed in a G.code file.
Slicing
An accessible button is present to allow the slicing procedure, by clicking it. The "slicing" button launches the analysis and interpretation process.
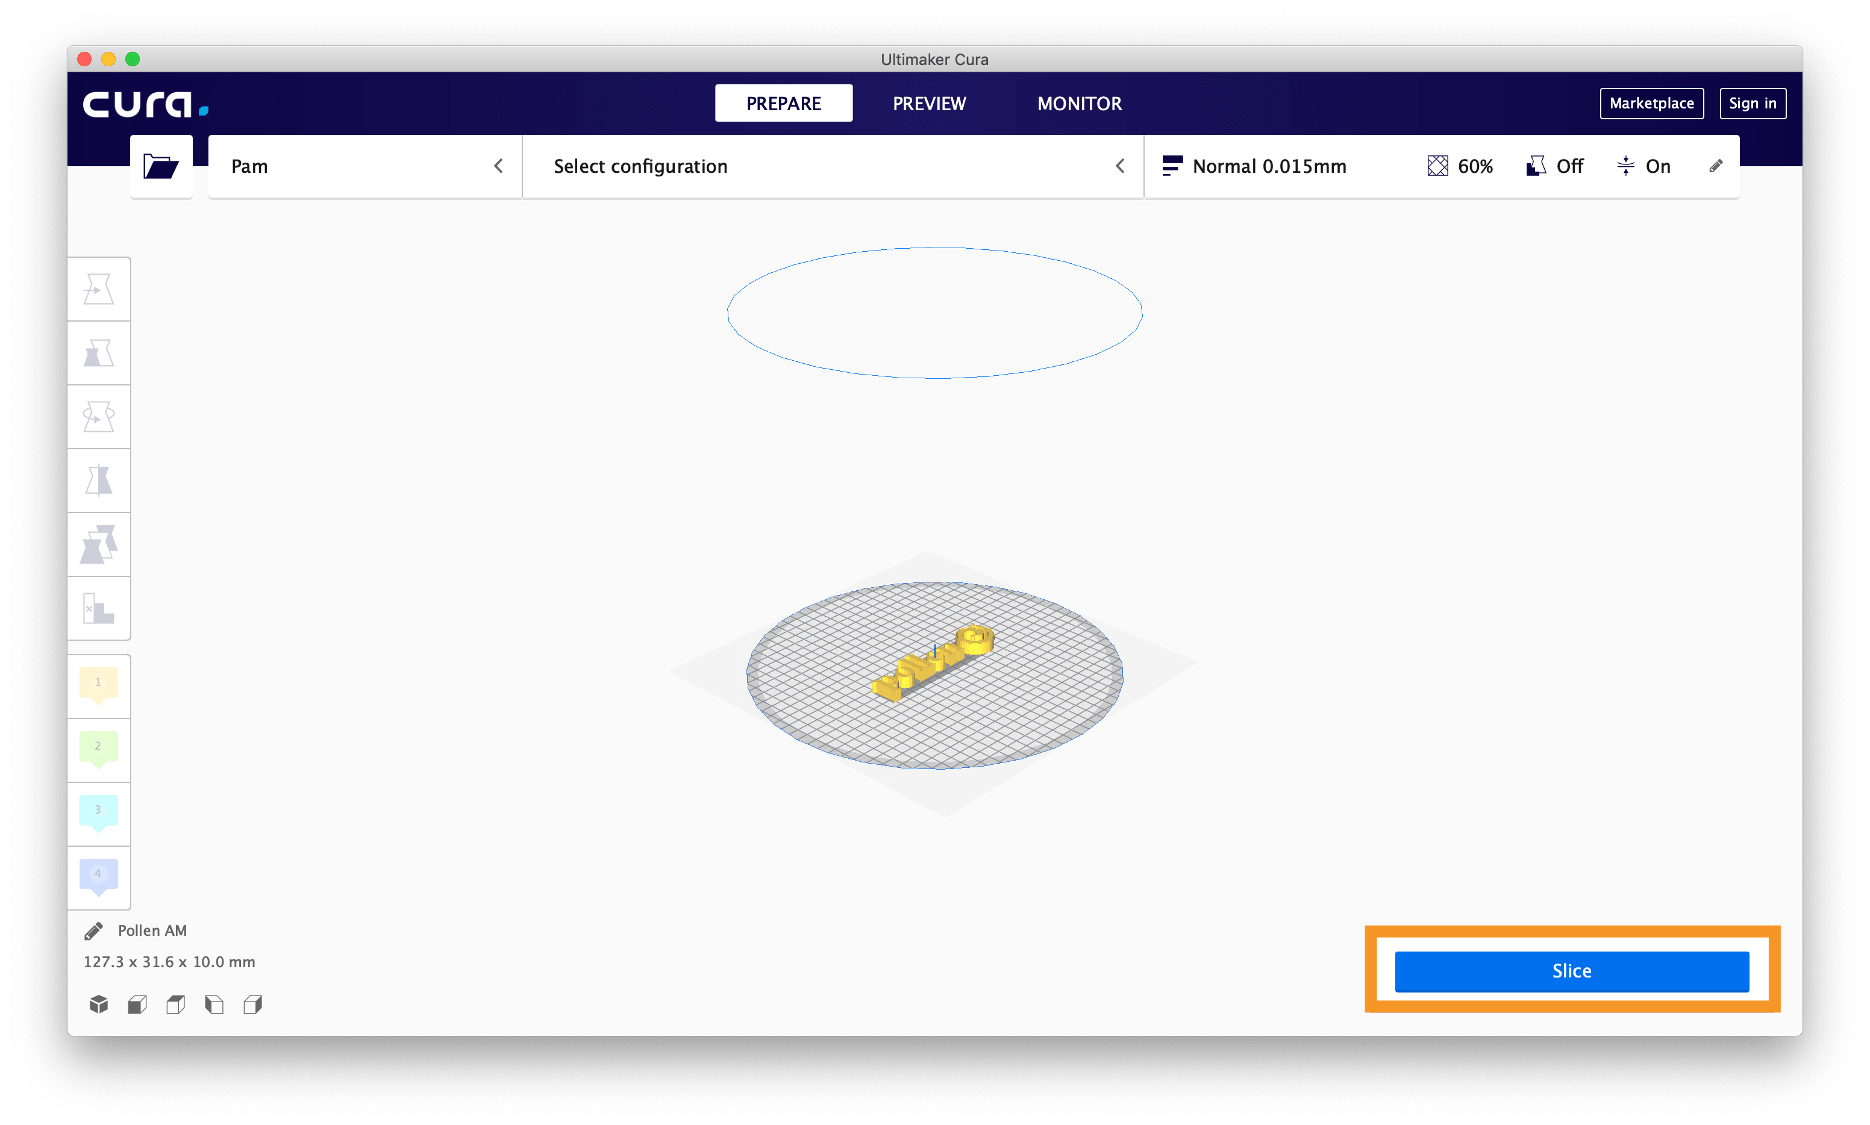
Once sliced, the parts interpreted in a succession of 2D plans can be analysed by the user. This way, the adequacy of the printing parameters with the 3D file can be checked.
Visualization
This section allows the user to select the right 3D printer and its configuration (nozzle specifications).

3D Printer: Select the 3D printer. If further 3D printers are installed, it will be necessary to select the right one from the dowpdown menu.
Configuration: Quickly select the mounted nozzle per each extruder.
Print settings
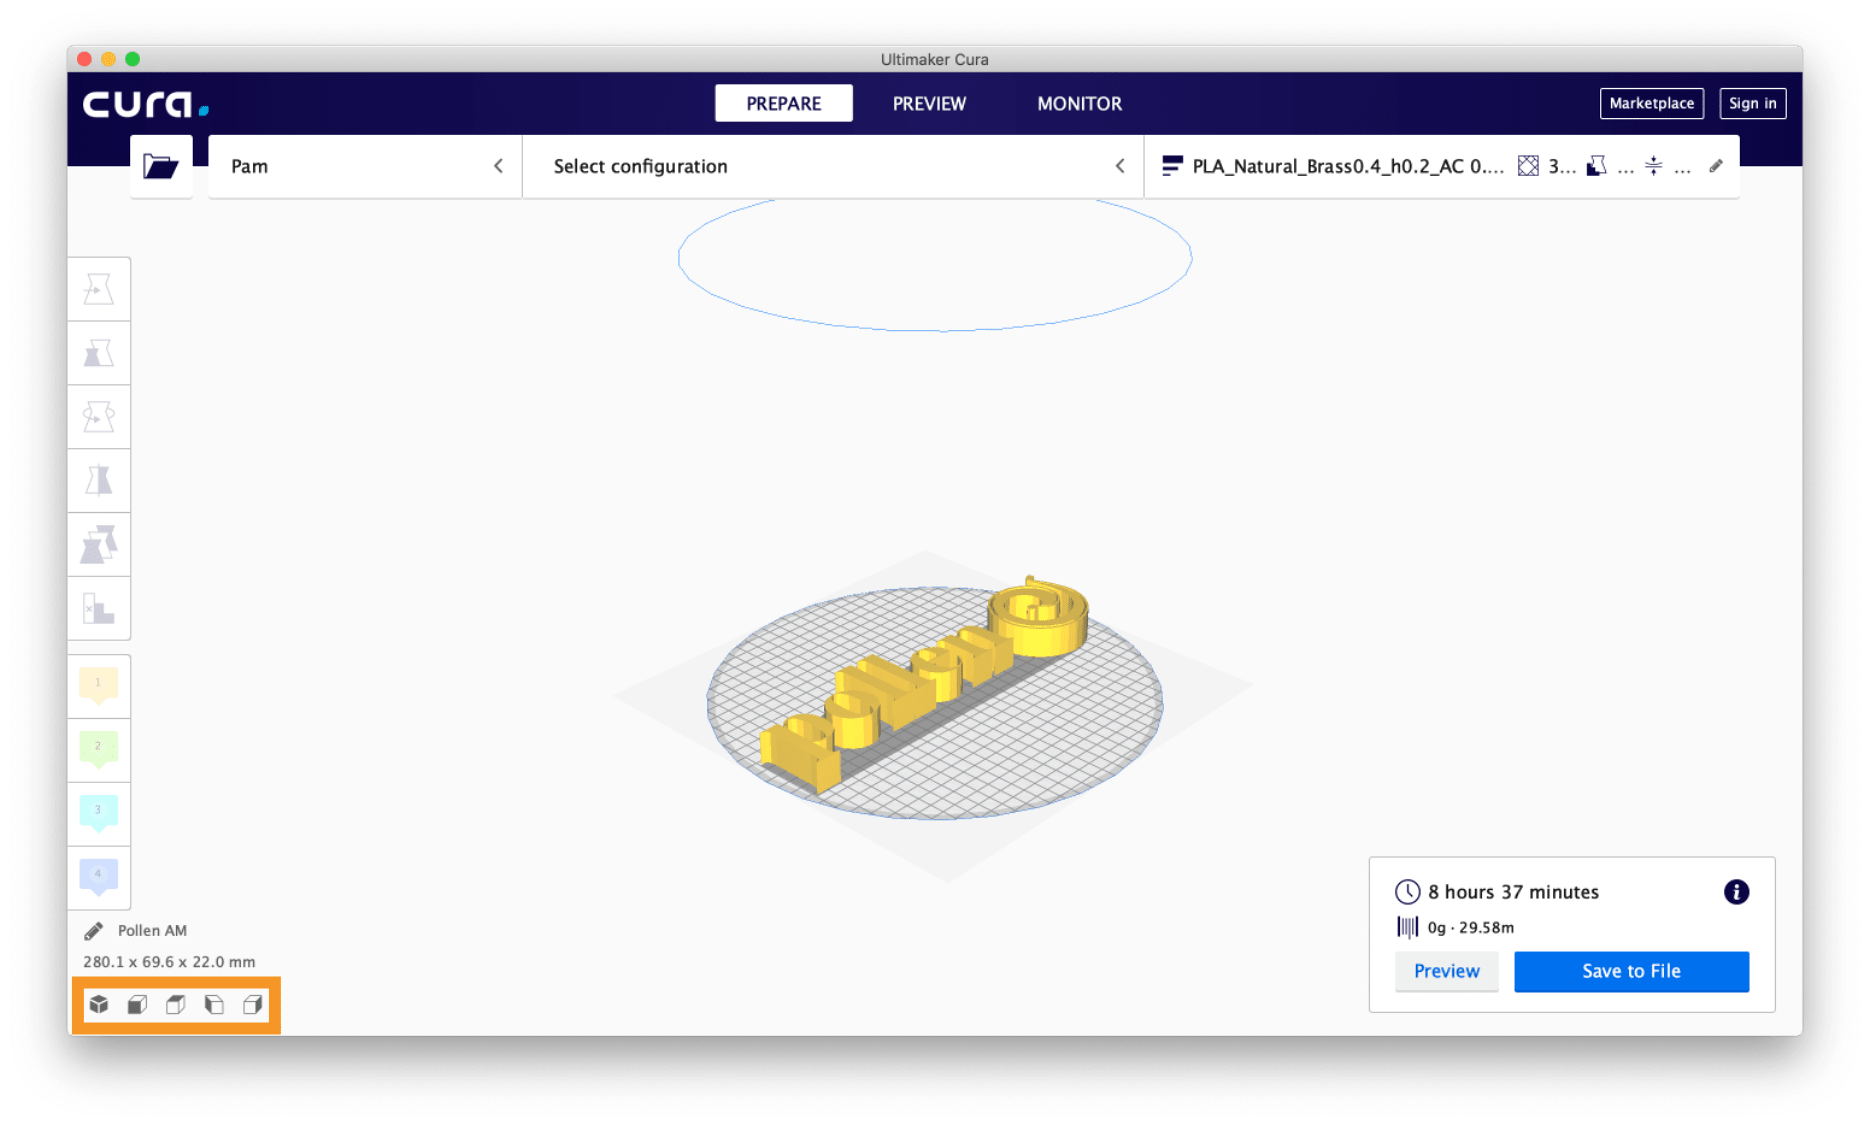
There are three basic ways to view the model, Solid, X-Ray and Layers.
Solid visualization: this is the default view that enables to have a global vision of the part, size, printing orientation, etc.
Using the navigation settings to change the viewpoint can also be useful.

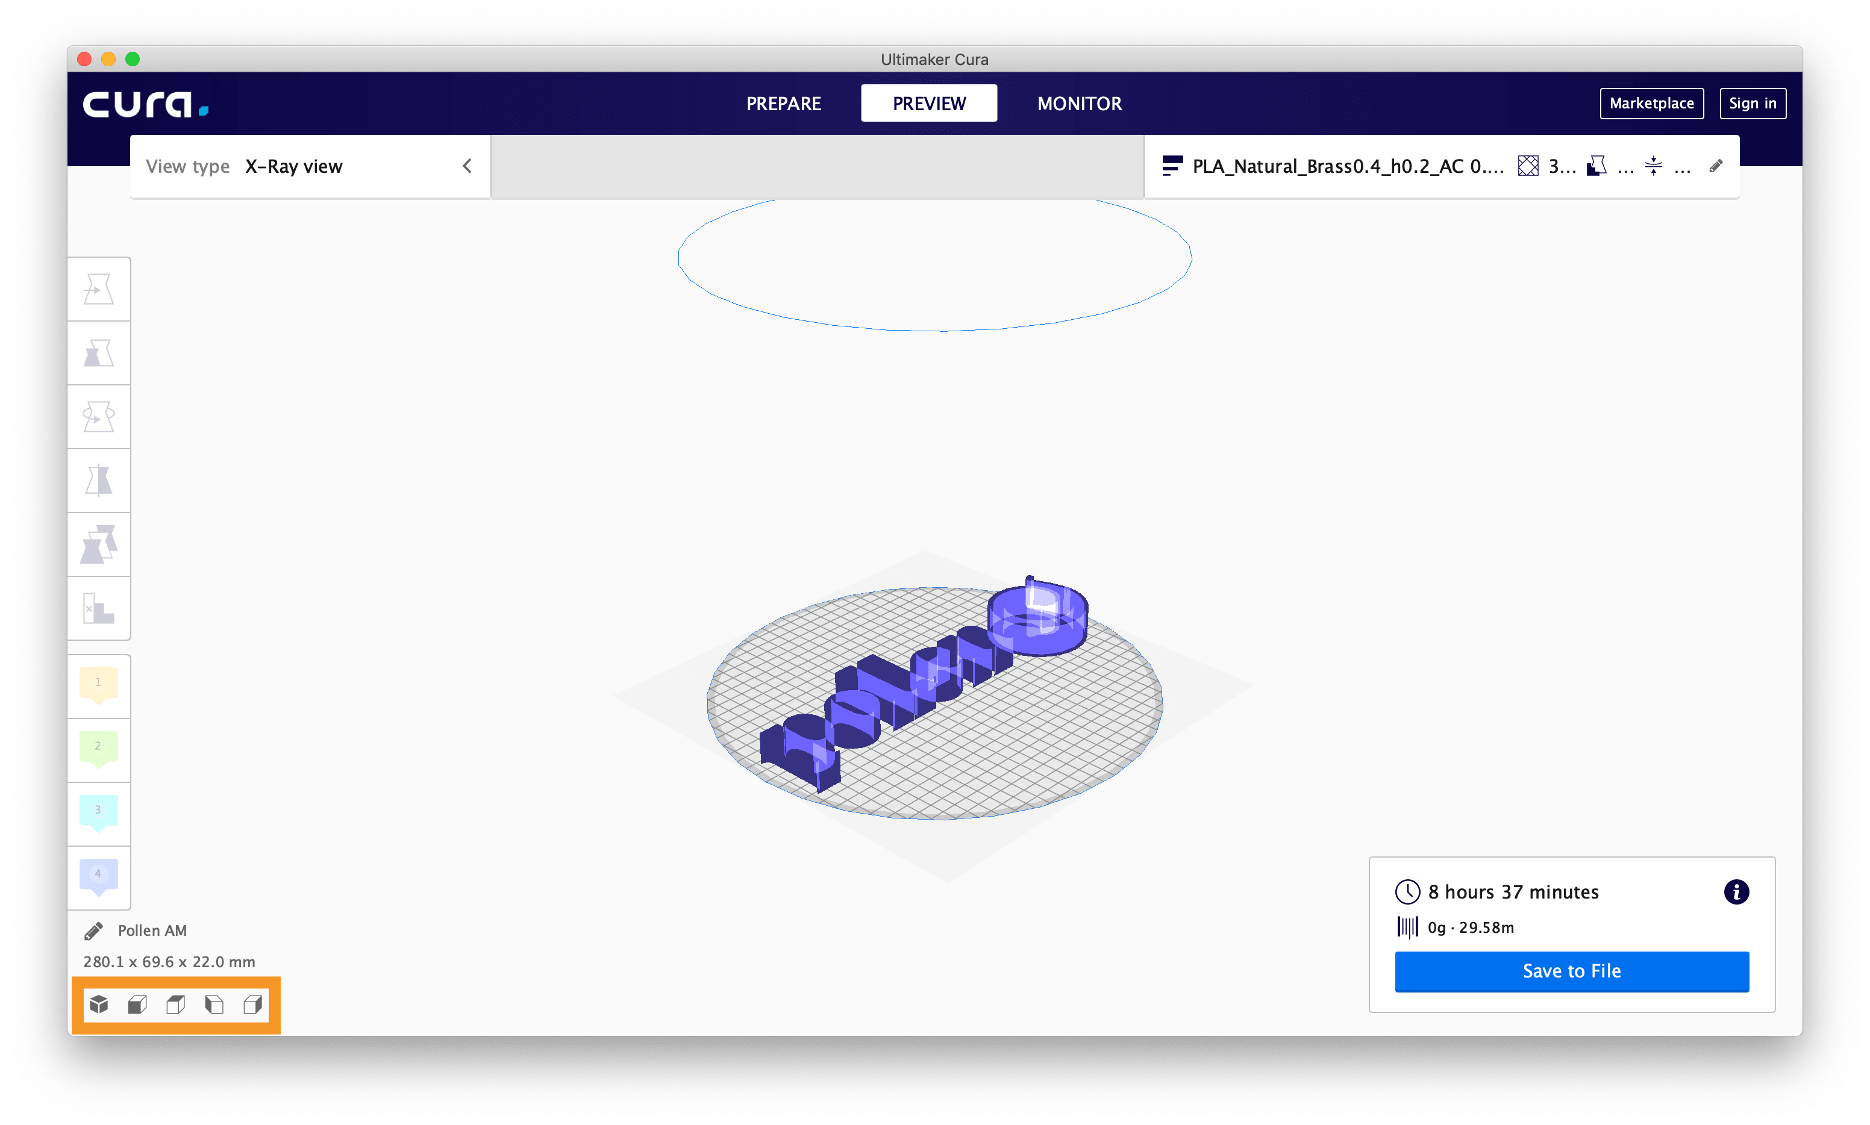
X-Ray visualization: available under the preview settings, this function allows analysing the internal structure of the 3D part, and to understand which part element needs to be reworked.
Using the navigation settings to change the viewpoint can also be useful.

Layers visualization: also available under the preview settings, this function is important to know, by using it allows to maximize the success rate of its prints and to check that the file has been interpreted correctly. This function allows the display of different elements, such as material, line type, feedrates and layer thickness.
The layer-by-layer material deposition strategy is also displayable.
Using the navigation settings to change the viewpoint can also be useful.
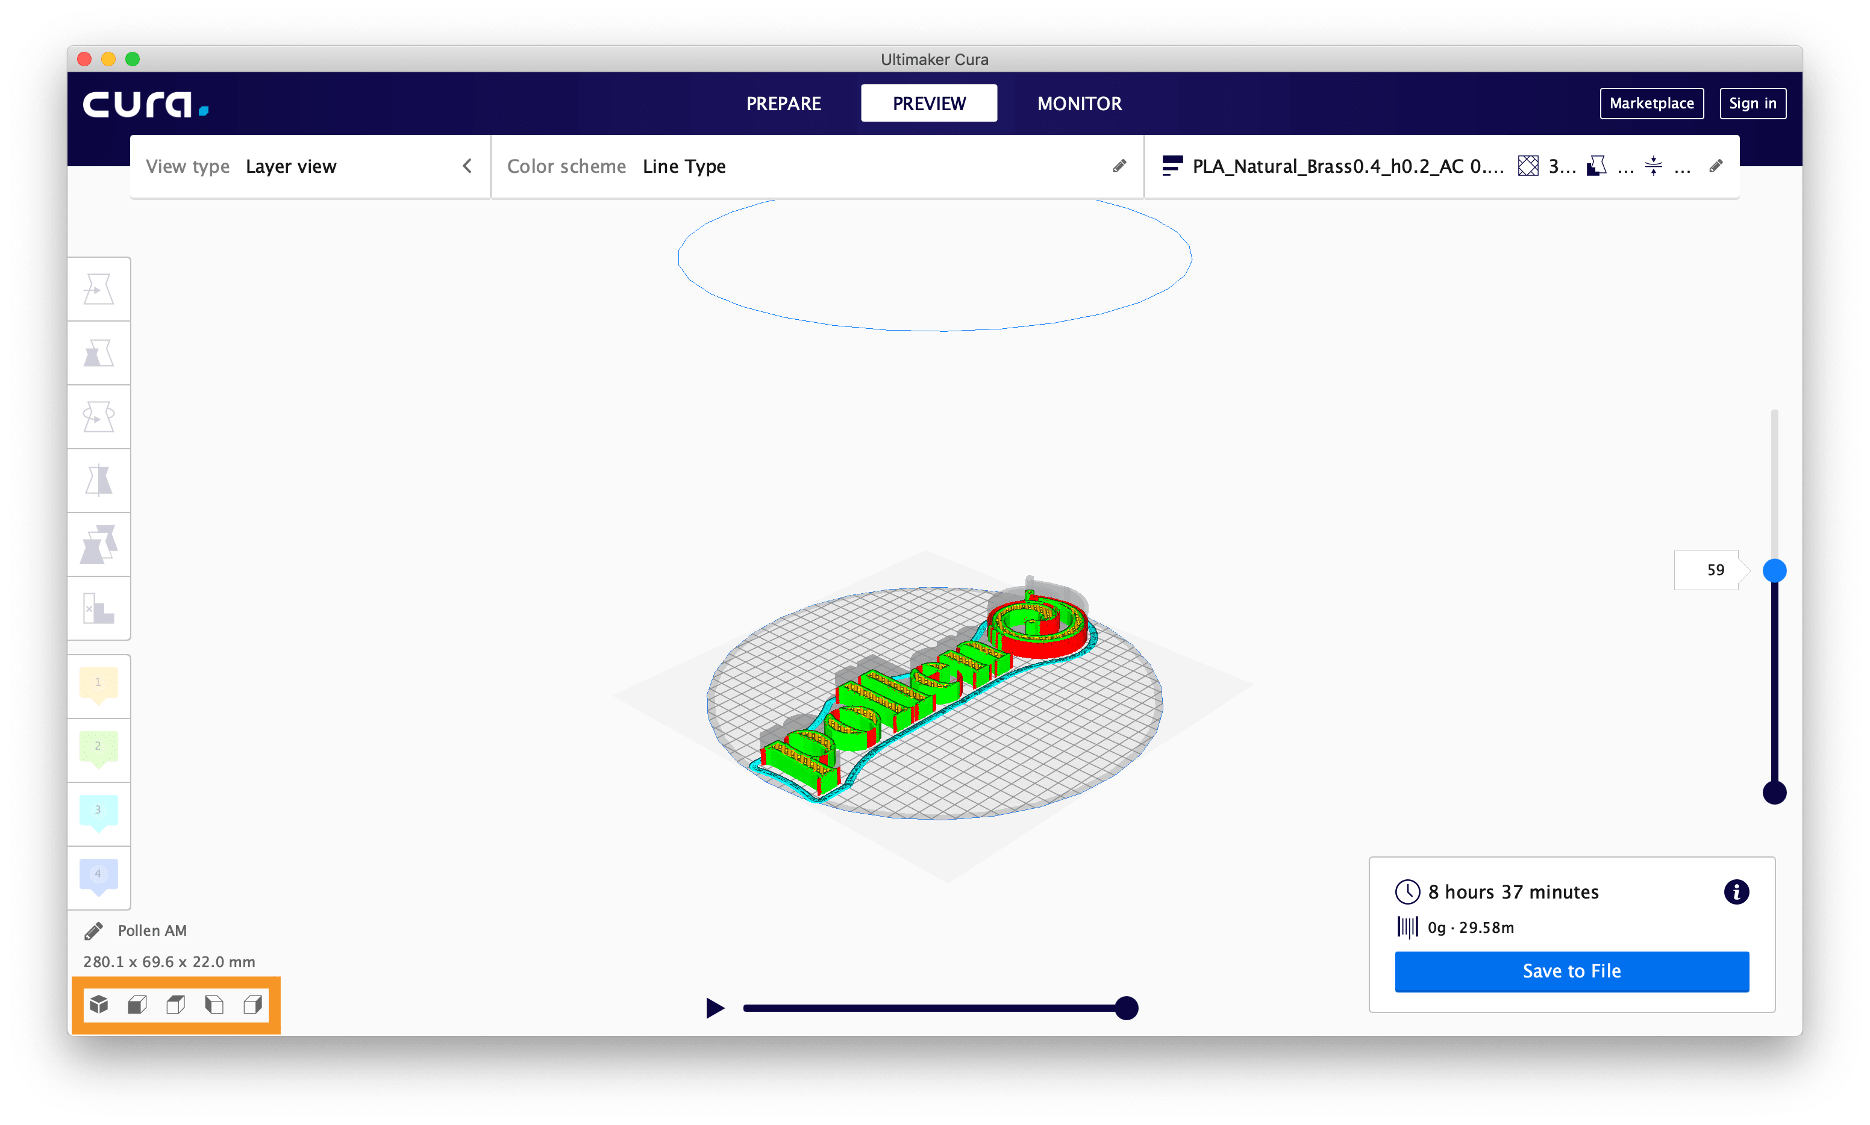


Once the interpretation of the 3D file has been verified, it is possible to experiment with the slicing.
The result will be obtaining a file in G.code format.


